升级VestaCP的PHP到7.0版本(Upgrade VestaCP to PHP 7 (CentOS))
What you may need
- A SSH client like Bitvise or Putty and basic knowledge about how to use it.
- Basic knowledge about common Unix command to SSH to your server.
- A server or VPS with at least 1GB of RAM (2GB or more is recommended).
- Make sure your Vestacp server is installed and running on CentOS server.
- About 30 minutes of your time
- a cup of coffee or tea.
Confused on choosing which VPS provider to install VestaCP? Read my recommended VPS providers or top low end cloud server providers. Quick recommendation: Digital Ocean, Atlantic.net or Ramnode.
How to Install
p.s: Please click any image you wish to see its larger version.
Step 1 – Install VestaCP on your vps, cloud or dedicated server. You can follow the step by step tutorial posted previously. Despite this tutorial done on CentOS 7, but the steps are pretty much similar.
Step 2 – Once installed, still in Putty, you can do initial check of what PHP version is installed:
1 |
php -v |
it should look like this (PHP 5.4.45):

Step 3 – Now we need to install remi repo or at
least make it updated. PHP 7 is considered new and is not available via
Yum at base CentOS repo.
1
2
3 |
wget https://dl.fedoraproject.org/pub/epel/epel-release-latest-7.noarch.rpm
wget http://rpms.remirepo.net/enterprise/remi-release-7.rpm
rpm -Uvh remi-release-7.rpm epel-release-latest-7.noarch.rpm |
Also read:
How to enable Remi repository on CentOS 7, 6 and 5
Here’s I show you in screenshot pics:

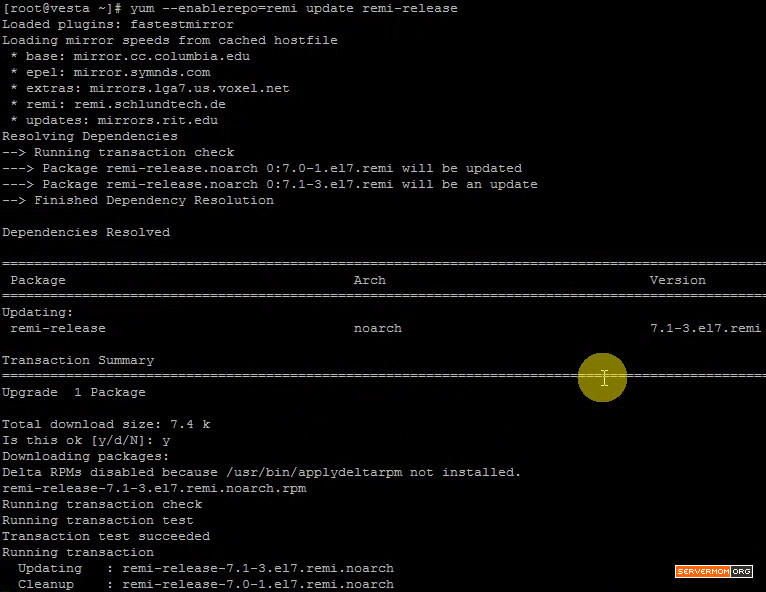
Step 4 – Now issue this command to update and enable it
1 |
yum --enablerepo=remi update remi-release |
Step 5 – Now delete current PHP installation but make sure you stopped Apache first:
1
2 |
service httpd stop
yum -y remove php |
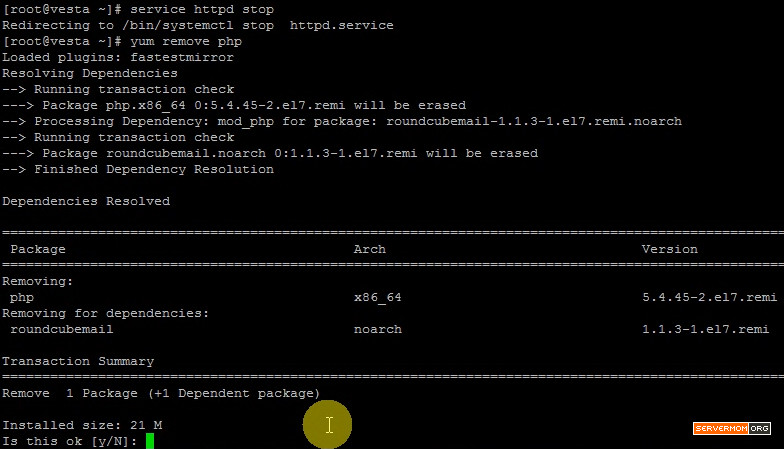
Simply answer Y when asked.
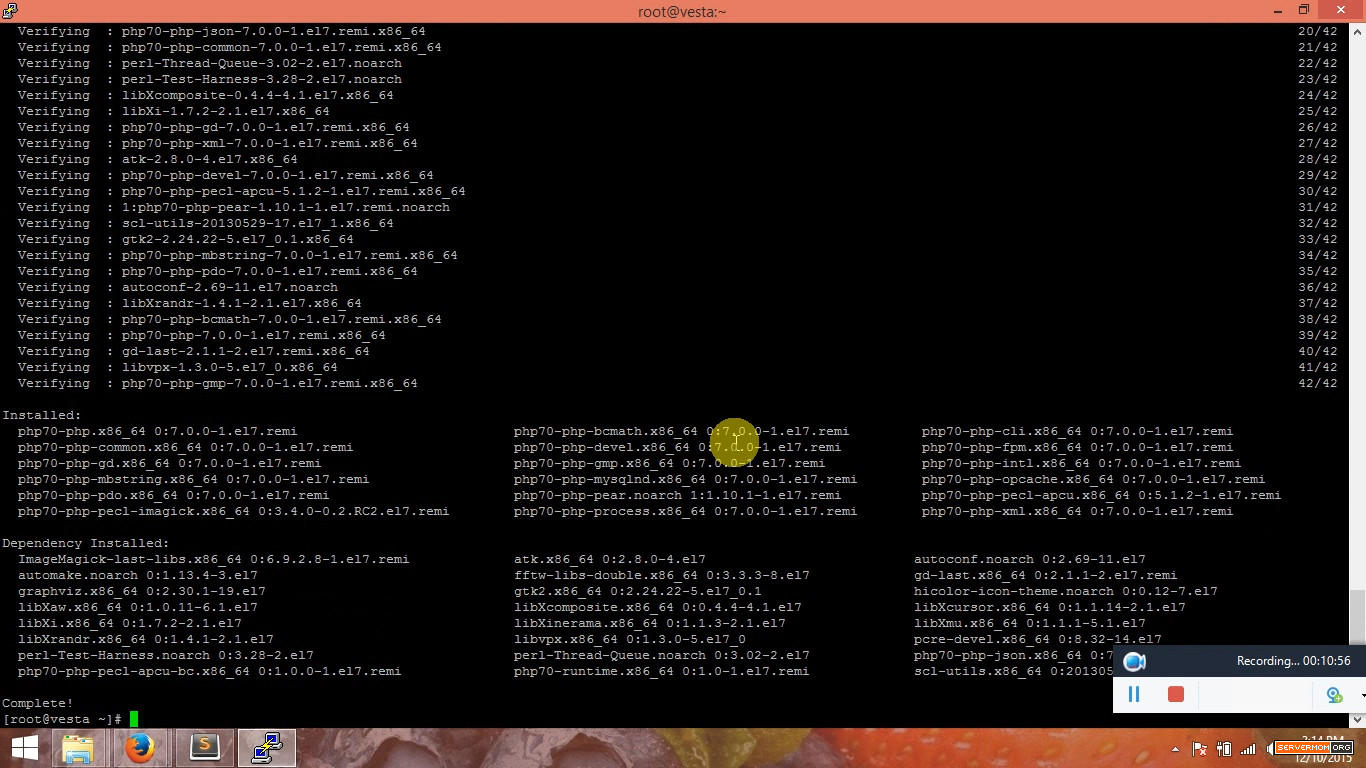
Step 6 – Finally, issue this command to install PHP 7.0 with all necessary modules:
1 |
yum --enablerepo=remi-php70installphp70-php php70-php-pear php70-php-bcmath php70-php-pecl-jsond-devel php70-php-mysqlnd php70-php-gd php70-php-common php70-php-fpm php70-php-intl php70-php-cli php70-php php70-php-xml php70-php-opcache php70-php-pecl-apcu php70-php-pecl-jsond php70-php-pdo php70-php-gmp php70-php-process php70-php-pecl-imagick php70-php-devel php70-php-mbstring |
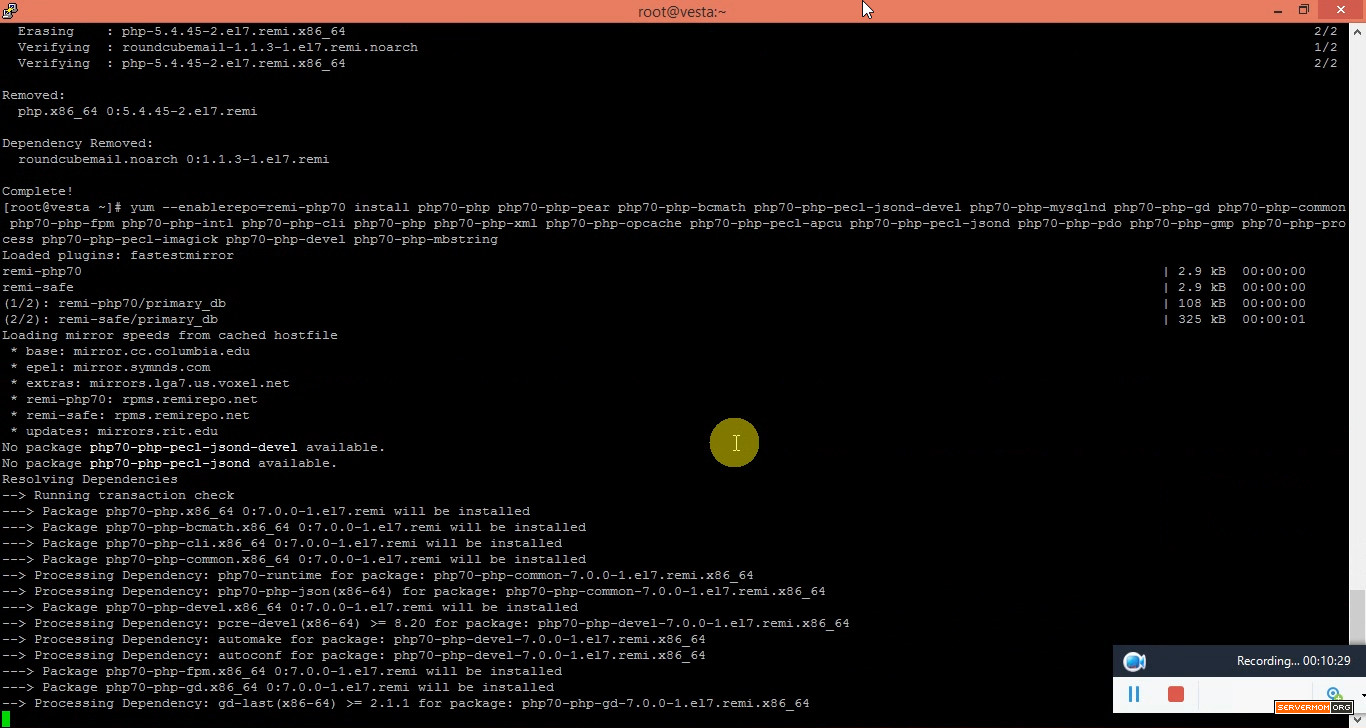
Wait till the process finished which in my case it took about a minute or two. When finished, your screen will look like this:
Step 7 – Next, at this point, you can simply stop the old PHP-fpm service and start the newly installed PHP70-fpm
1
2 |
service php-fpm stop
service php70-php-fpm start |
It’s simply like this pic:

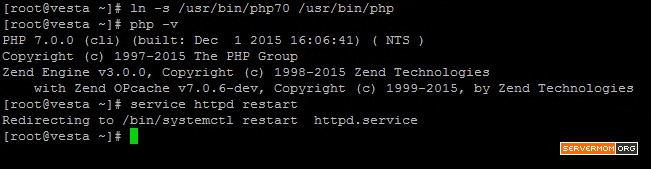
Step 8 – Finally you can delete the old php symblink and create a new one:
1
2 |
rm/usr/bin/php
ln-s/usr/bin/php70/usr/bin/php |

Also do not forget to restart Apache service / httpd:
1 |
service httpd restart |
Step 9 – Now you can check which version of PHP Vestacp is running:
1 |
php -v |
Done!
You can create simple phpinfo() page to see some detailed specs:
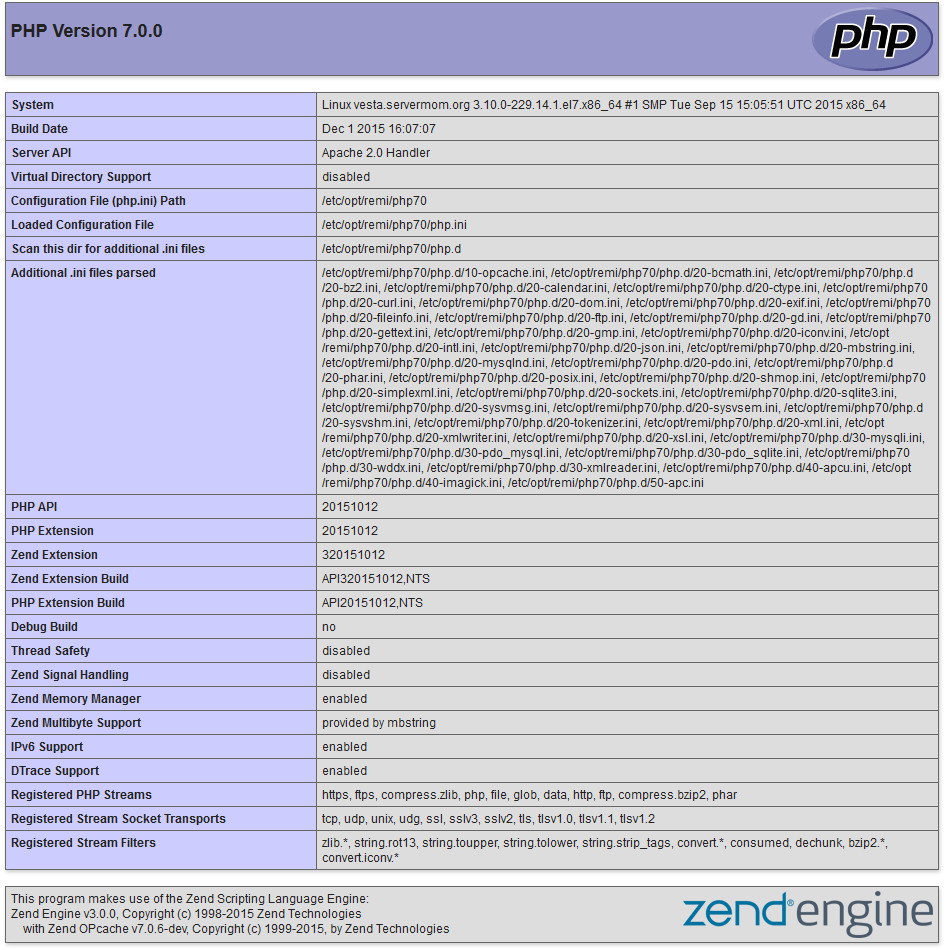
See? It is running PHP 7.0 now. How cool is that!
原文:http://www.servermom.org/upgrade-vestacp-to-php-7-centos/2974/